Description
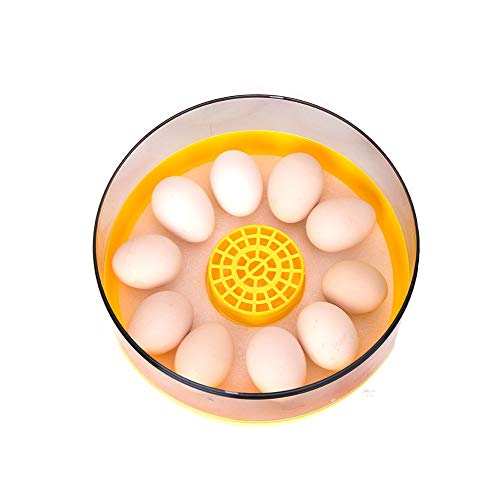
- 1. Before hatching, conduct a comprehensive inspection of the incubator equipment, observe whether the fan rotation device is normal, whether the accessories are complete, and then test the temperature and water volume in the water tray. When the incubator reaches the desired temperature and humidity, try again for 12-24 hours. If the operation is normal, you can formally hatch the eggs. Eggs should be selected and stored for 5 days (more than 7 days, more than 0 days). Over 5 days, the hatching
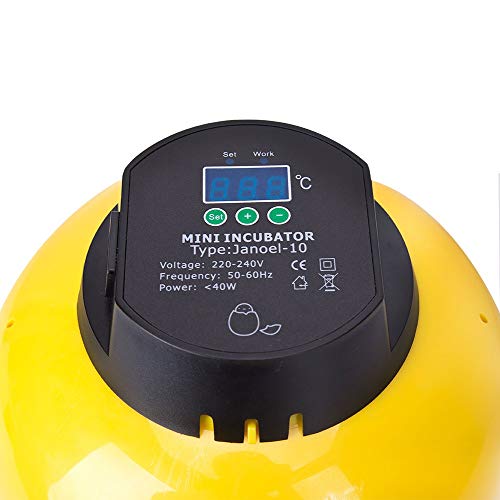
- 2. Temperature correction setting: Different poultry hatching requirements are different: chicken: hatching period is 21 days. 1 to 6 days is 38.2 ° C; 7 to 14 days is 38 ° C; 15 days is 37.8 ° C; 16 to 21 days is 37.2 ~ 37.5 ° C. Press the "SET" button for more than 3 seconds to enter the menu display. When the screen appears, use the + or - button to adjust to the "CA" code, press the "SET" button to display the temperature correction setting, then press "+". "OR" - "Key adjustment parameters.
- 3. Control humidity: Poultry requirements for relative humidity will vary during different incubation periods. The relative humidity during pre-incubation is maintained at 55% to 60% to ensure uniform embryo temperature, which facilitates the formation of allantoic fluid and amniotic fluid. The relative humidity in the medium is maintained at 30% to 55% to promote evaporation of the water. Relative humidity should be increased to 65% to 75%; in high humidity environment, it is more conducive to
- 4. Button Description: Press the SET button to enter the control temperature setting, press the + or - button to adjust, press and hold the + or - button for three seconds to enter the quick adjustment mode. Press SET again to exit the setup state. Press and hold the SET button for three seconds to enter the system menu settings, press the + or - button to select the menu to be adjusted, then press the SET button to enter the corresponding parameter setting state, press + or - to modify the key.
- 5. Indicator status description: The work light on the left side of the display is used as the work indicator. The LED is always on for heating. The SET indicator on the left side of the display is used as a setting indicator. The LED is always lit to indicate the setting status. Before entering the incubation, it should be sterilized, the incubator cleaned, and then fumigated with potassium permanganate and formalin.
Precautions:Unpack the machine and check that all the configurations in the box are complete. For more information, see the package configuration listNote: If the ambient temperature is below 25 degrees, insulation must be taken and some clothing or other warmth is wrapped around the machine, which is good for the internal temperature of the machine, which also saves power and reduces heat dissipation.After 2 hours of machine testing, it can be used normally.Safety guidance1. The machine can only use the power supply marked on the machine; 110V-240V2. Do not press the items on the wire. The power cord of the machine should be placed in a place where it will not be stepped on or tripped;3. The socket and extension cable used should be guaranteed not to be overloaded, otherwise it may cause fire or electric shock;4. If the unit emits smoke, odor or abnormal noise, please turn off the power and unplug the power cord, confirm that the fault has stopped, and contact your dealer or service center.5. Do not touch the power cord with wet hands, otherwise there is a danger of electric shock.6. This unit should not be exposed to outdoor rain and outdoor sunlight.7. The room placed in the unit should ensure good air, no vibration equipment, and should not be placed in a place with a large amount of air circulation. .